Project settings
Configure a project's name, AI model, instructions, and escalation rules across the General, Widget, Behavior, and Members tabs
Each project has its own settings page — open it with Configure on a project card, or select the project and click Settings in the sidebar (app.clankersupport.com/settings/projects/<id>). Settings are split into four tabs: General, Widget, Behavior, and Members.
Saving changes
All four tabs share one save bar. As soon as you edit any field, an Unsaved changes bar appears at the bottom of the page:
- Save changes — writes only the fields you actually changed.
- Cancel — reverts every unsaved edit back to the stored values.
You can edit fields across several tabs and save them together in one go.
General
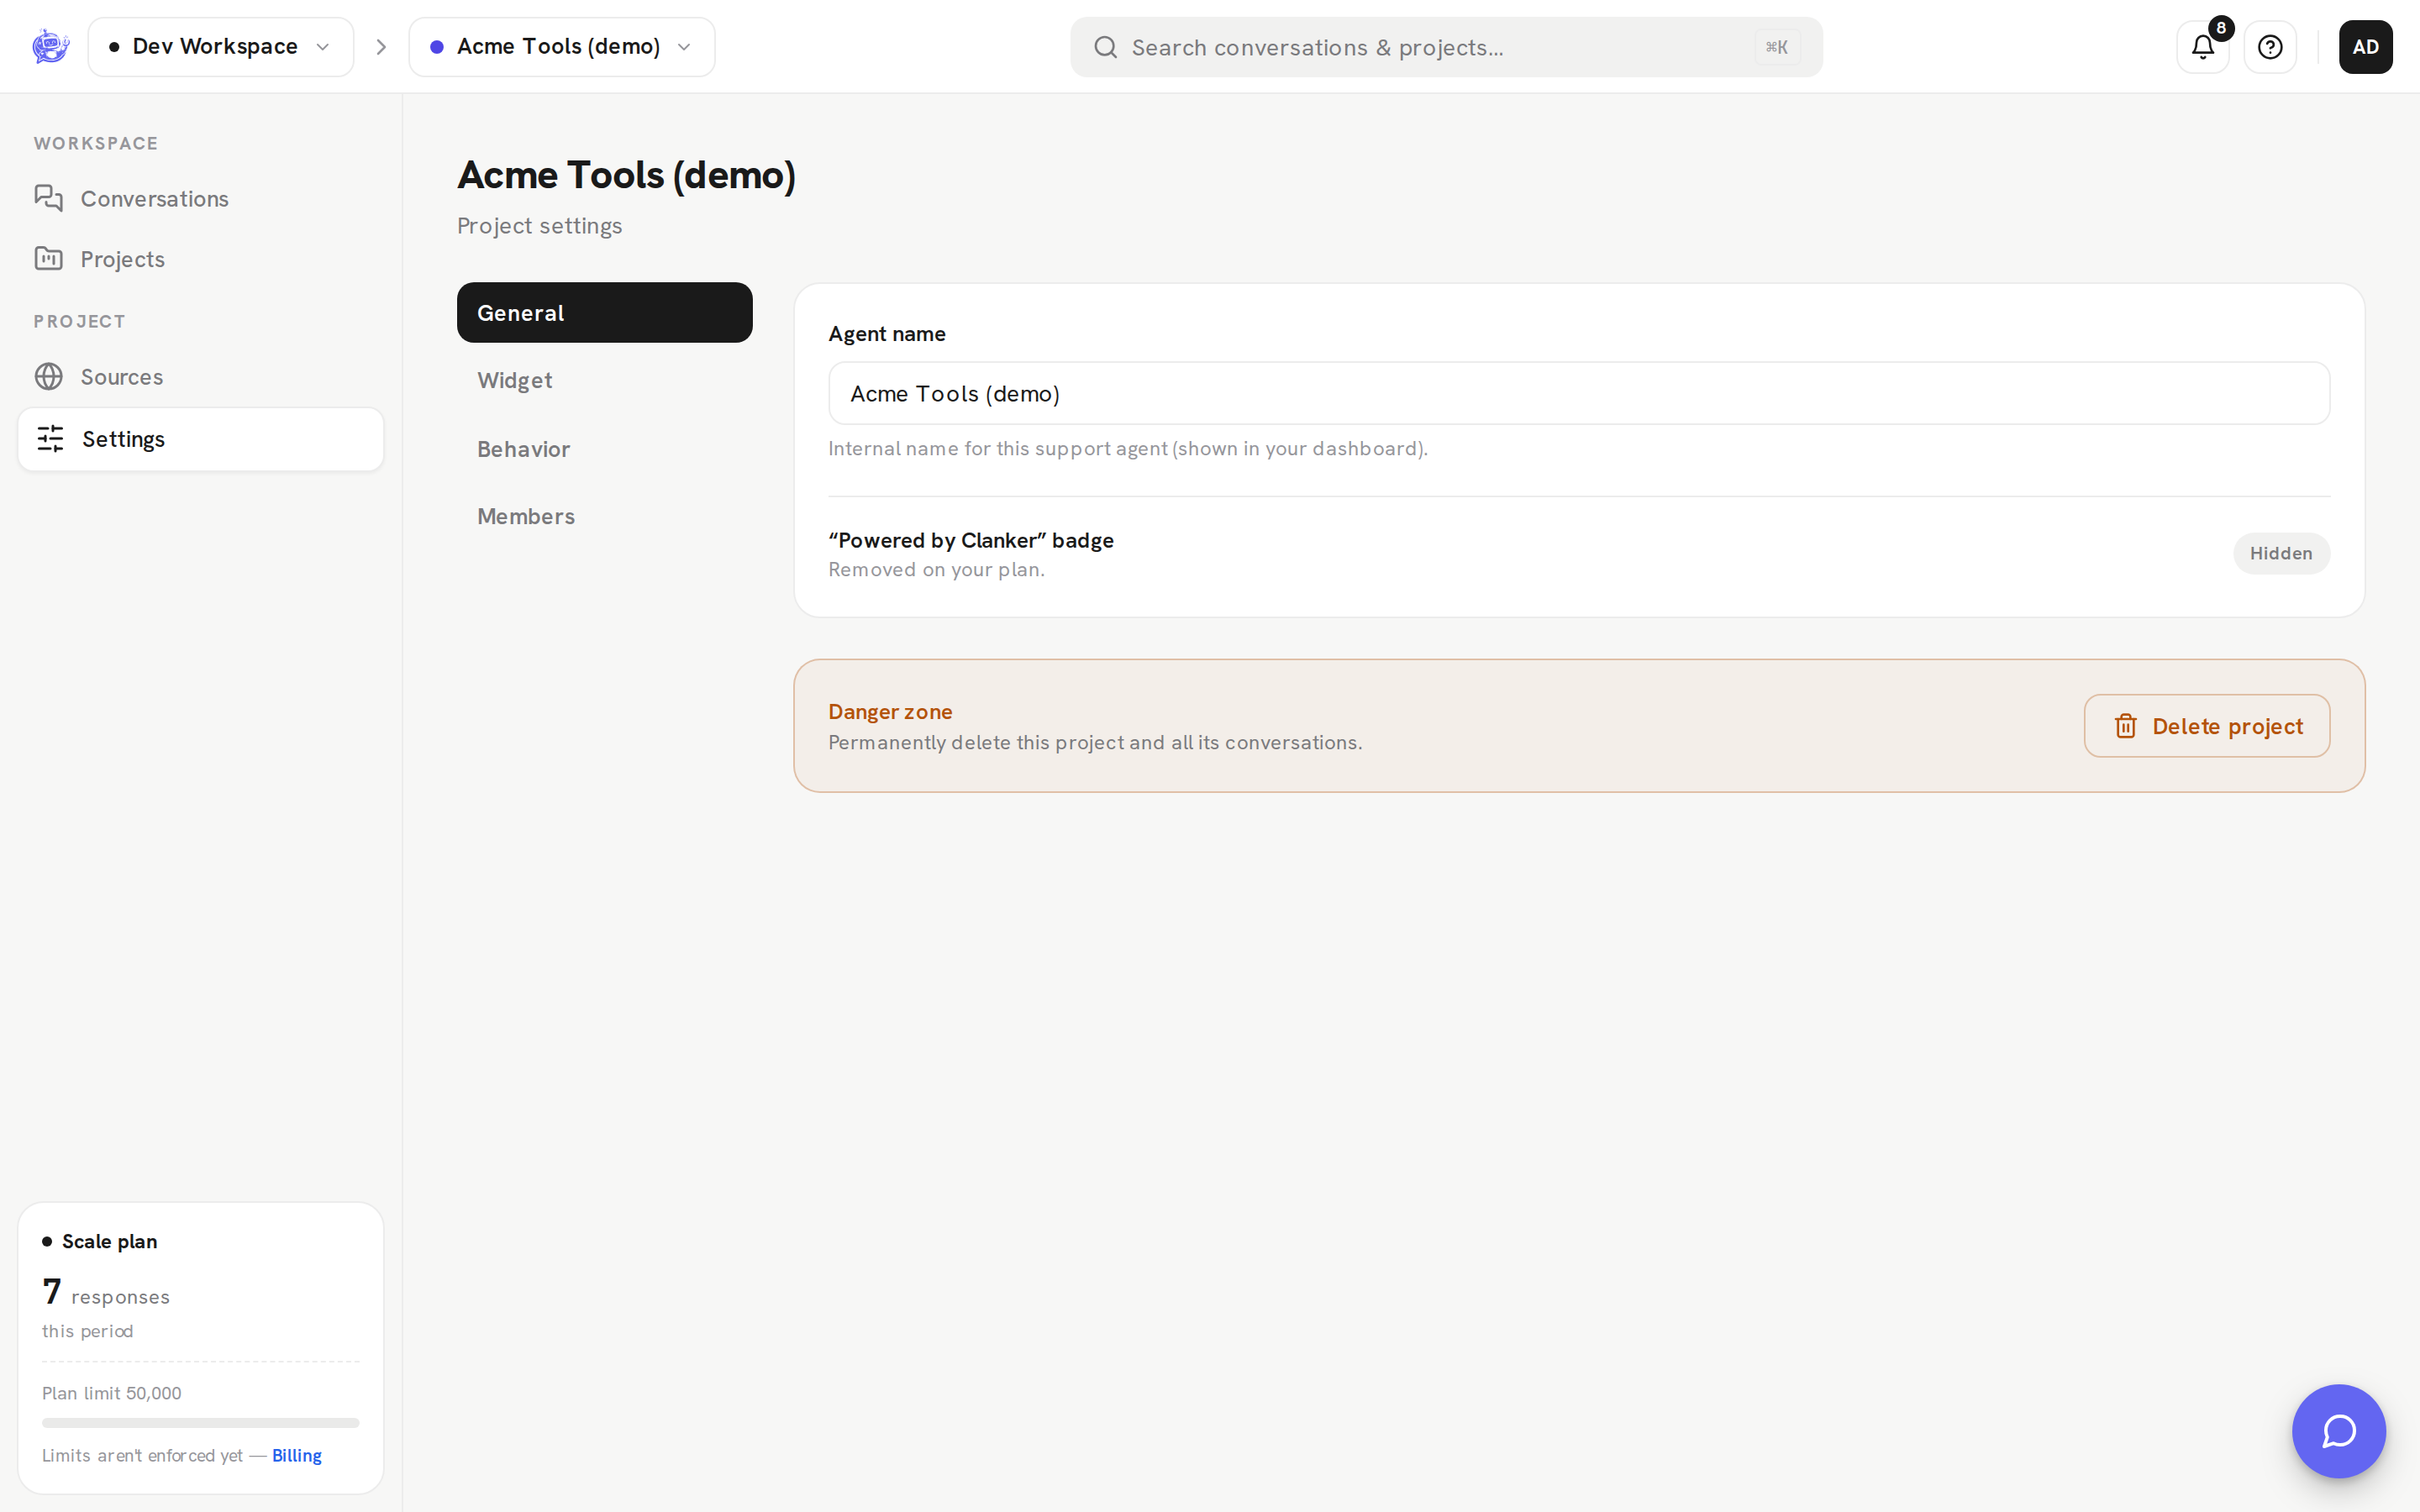
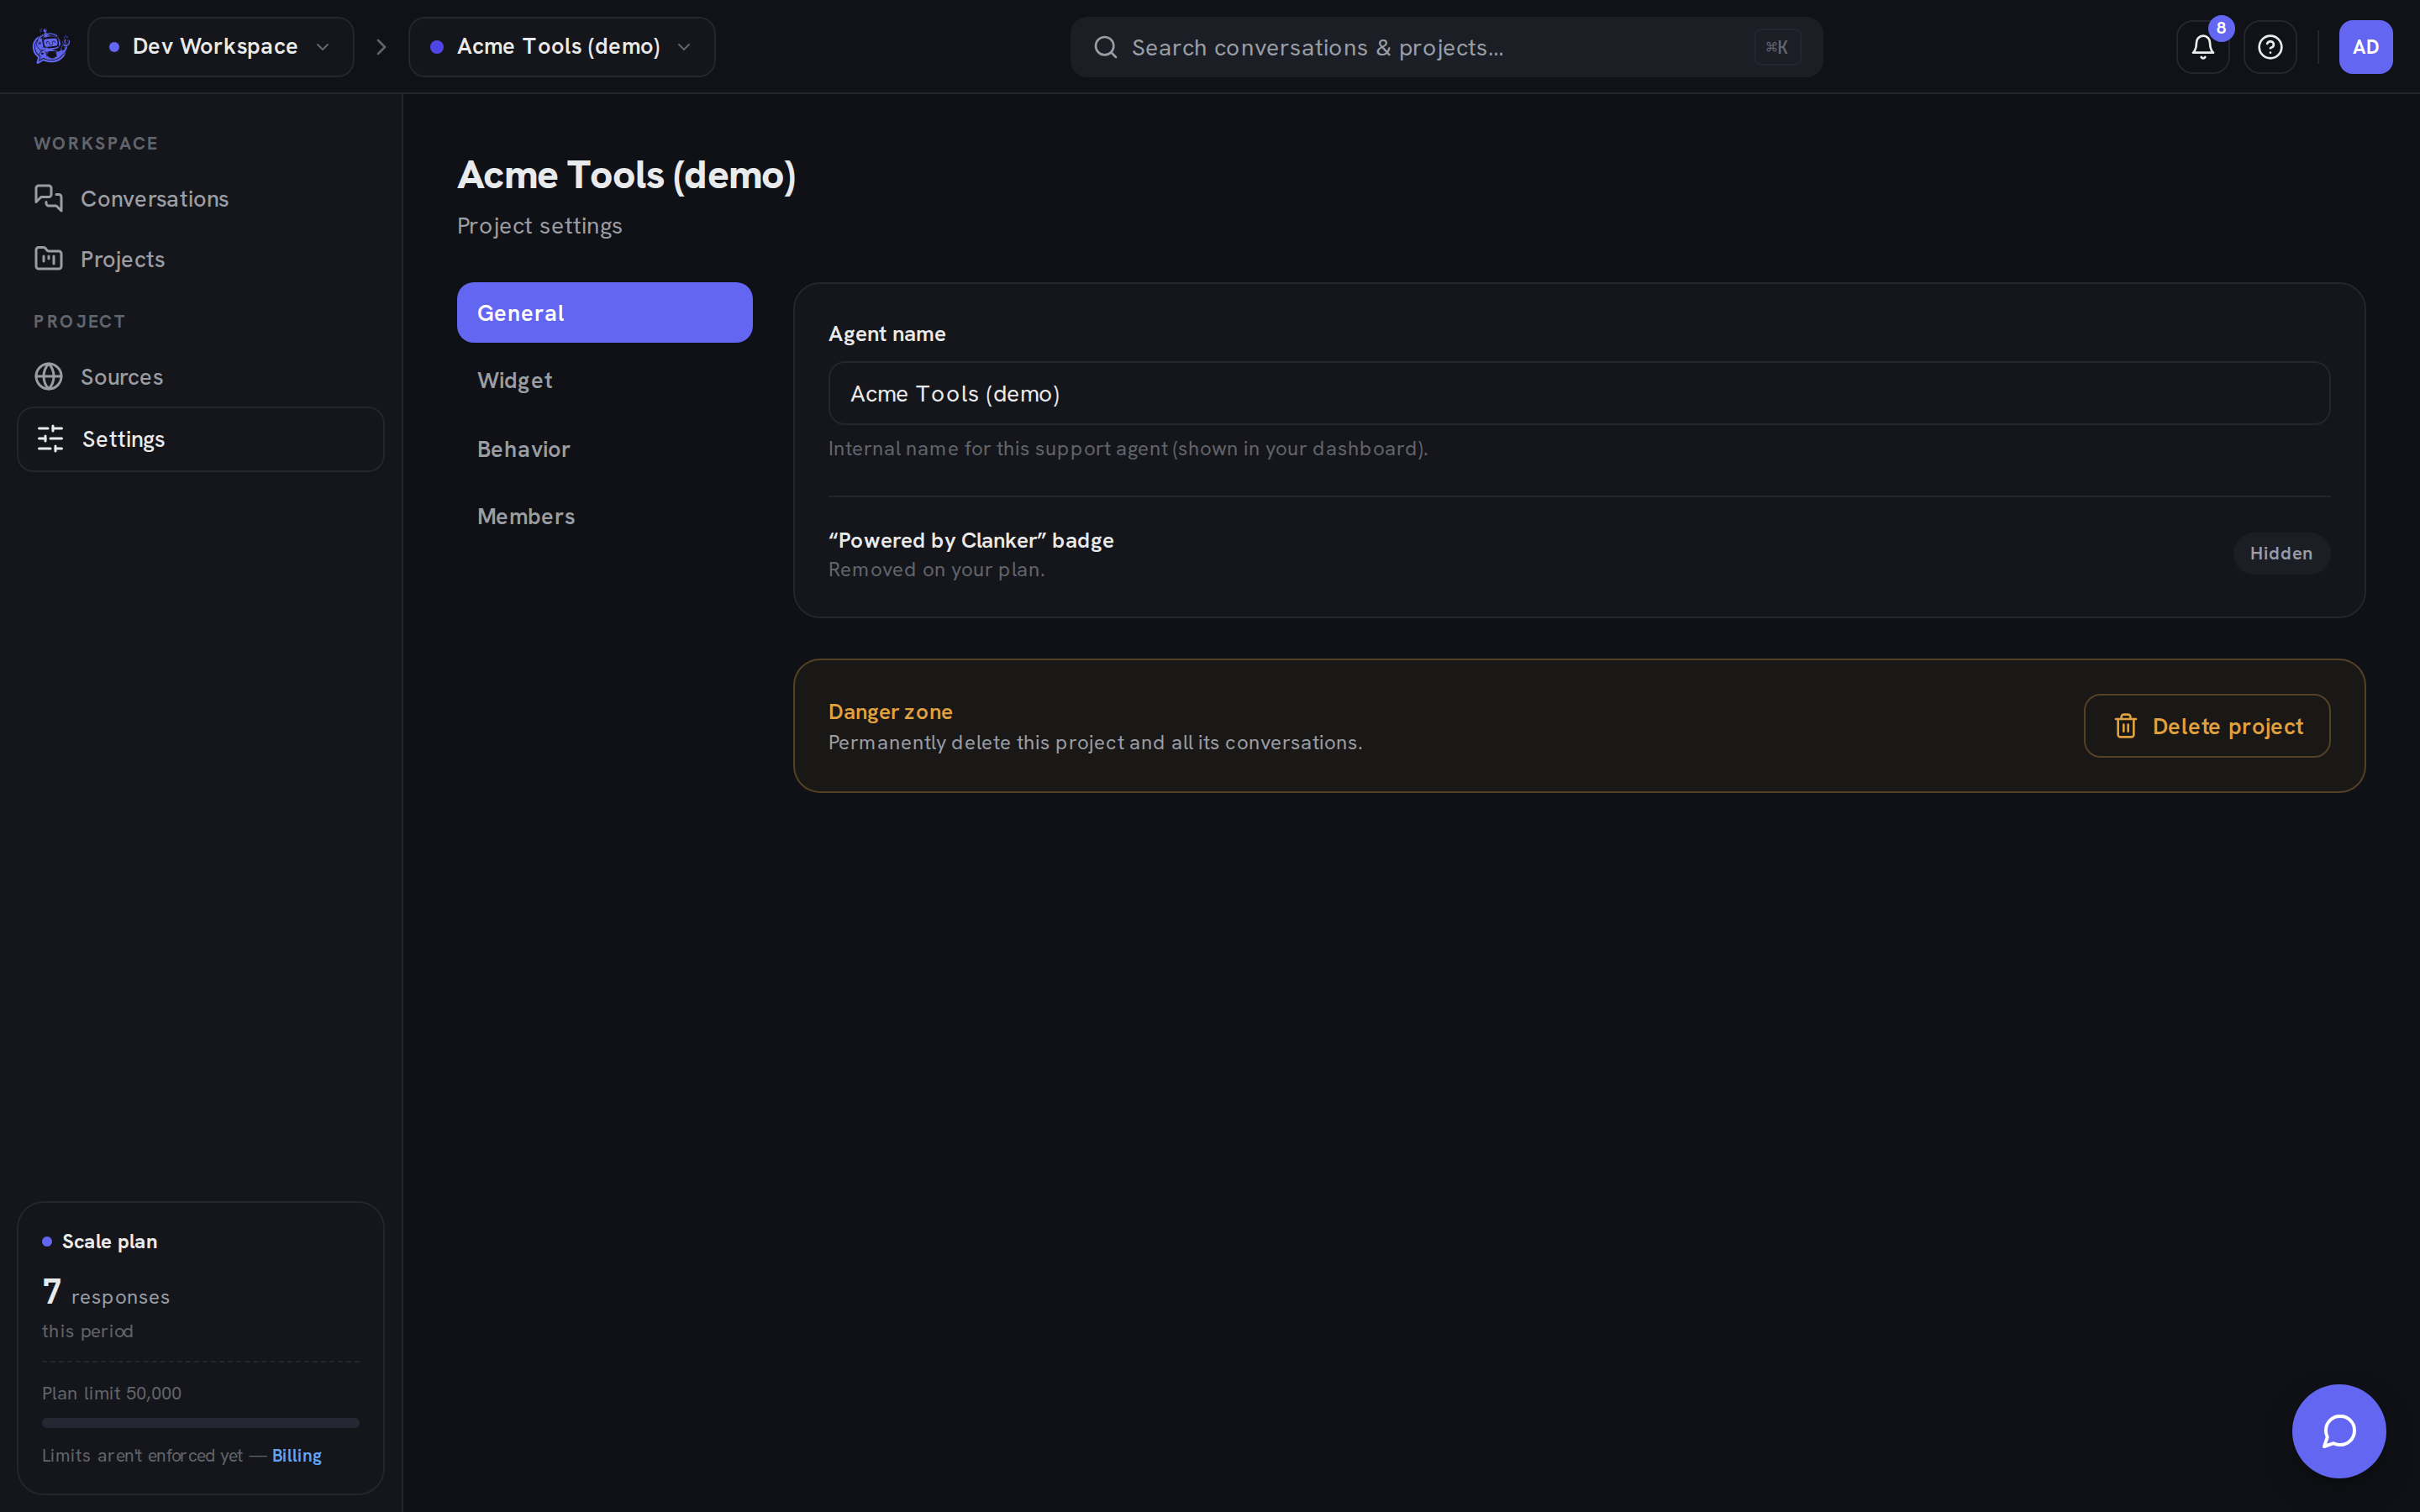
| Setting | What it does | | ------------------------------ | ------------------------------------------------------------------------ | | Agent name | The internal name for this support agent, shown in your dashboard | | "Powered by Clanker" badge | Read-only state — whether the widget shows the badge is set by your plan | | Danger zone | Permanently delete the project and all its conversations |
The badge row shows Shown or Hidden depending on your plan: Starter includes the badge, while Growth and Scale remove it. There is no per-project toggle — to change it, change your plan on the Billing page.
Delete project asks for confirmation before doing anything. Deletion is permanent: all conversations and data for the project are removed, and any widget embedded with its public key stops working.
Widget
The Widget tab holds the visitor-facing appearance — brand color, welcome message, privacy policy URL, a live chat preview, and the install snippet. It's covered in full on the Widget & embedding page.
Behavior
The Behavior tab controls how the agent thinks and when it hands off to your team.
Model
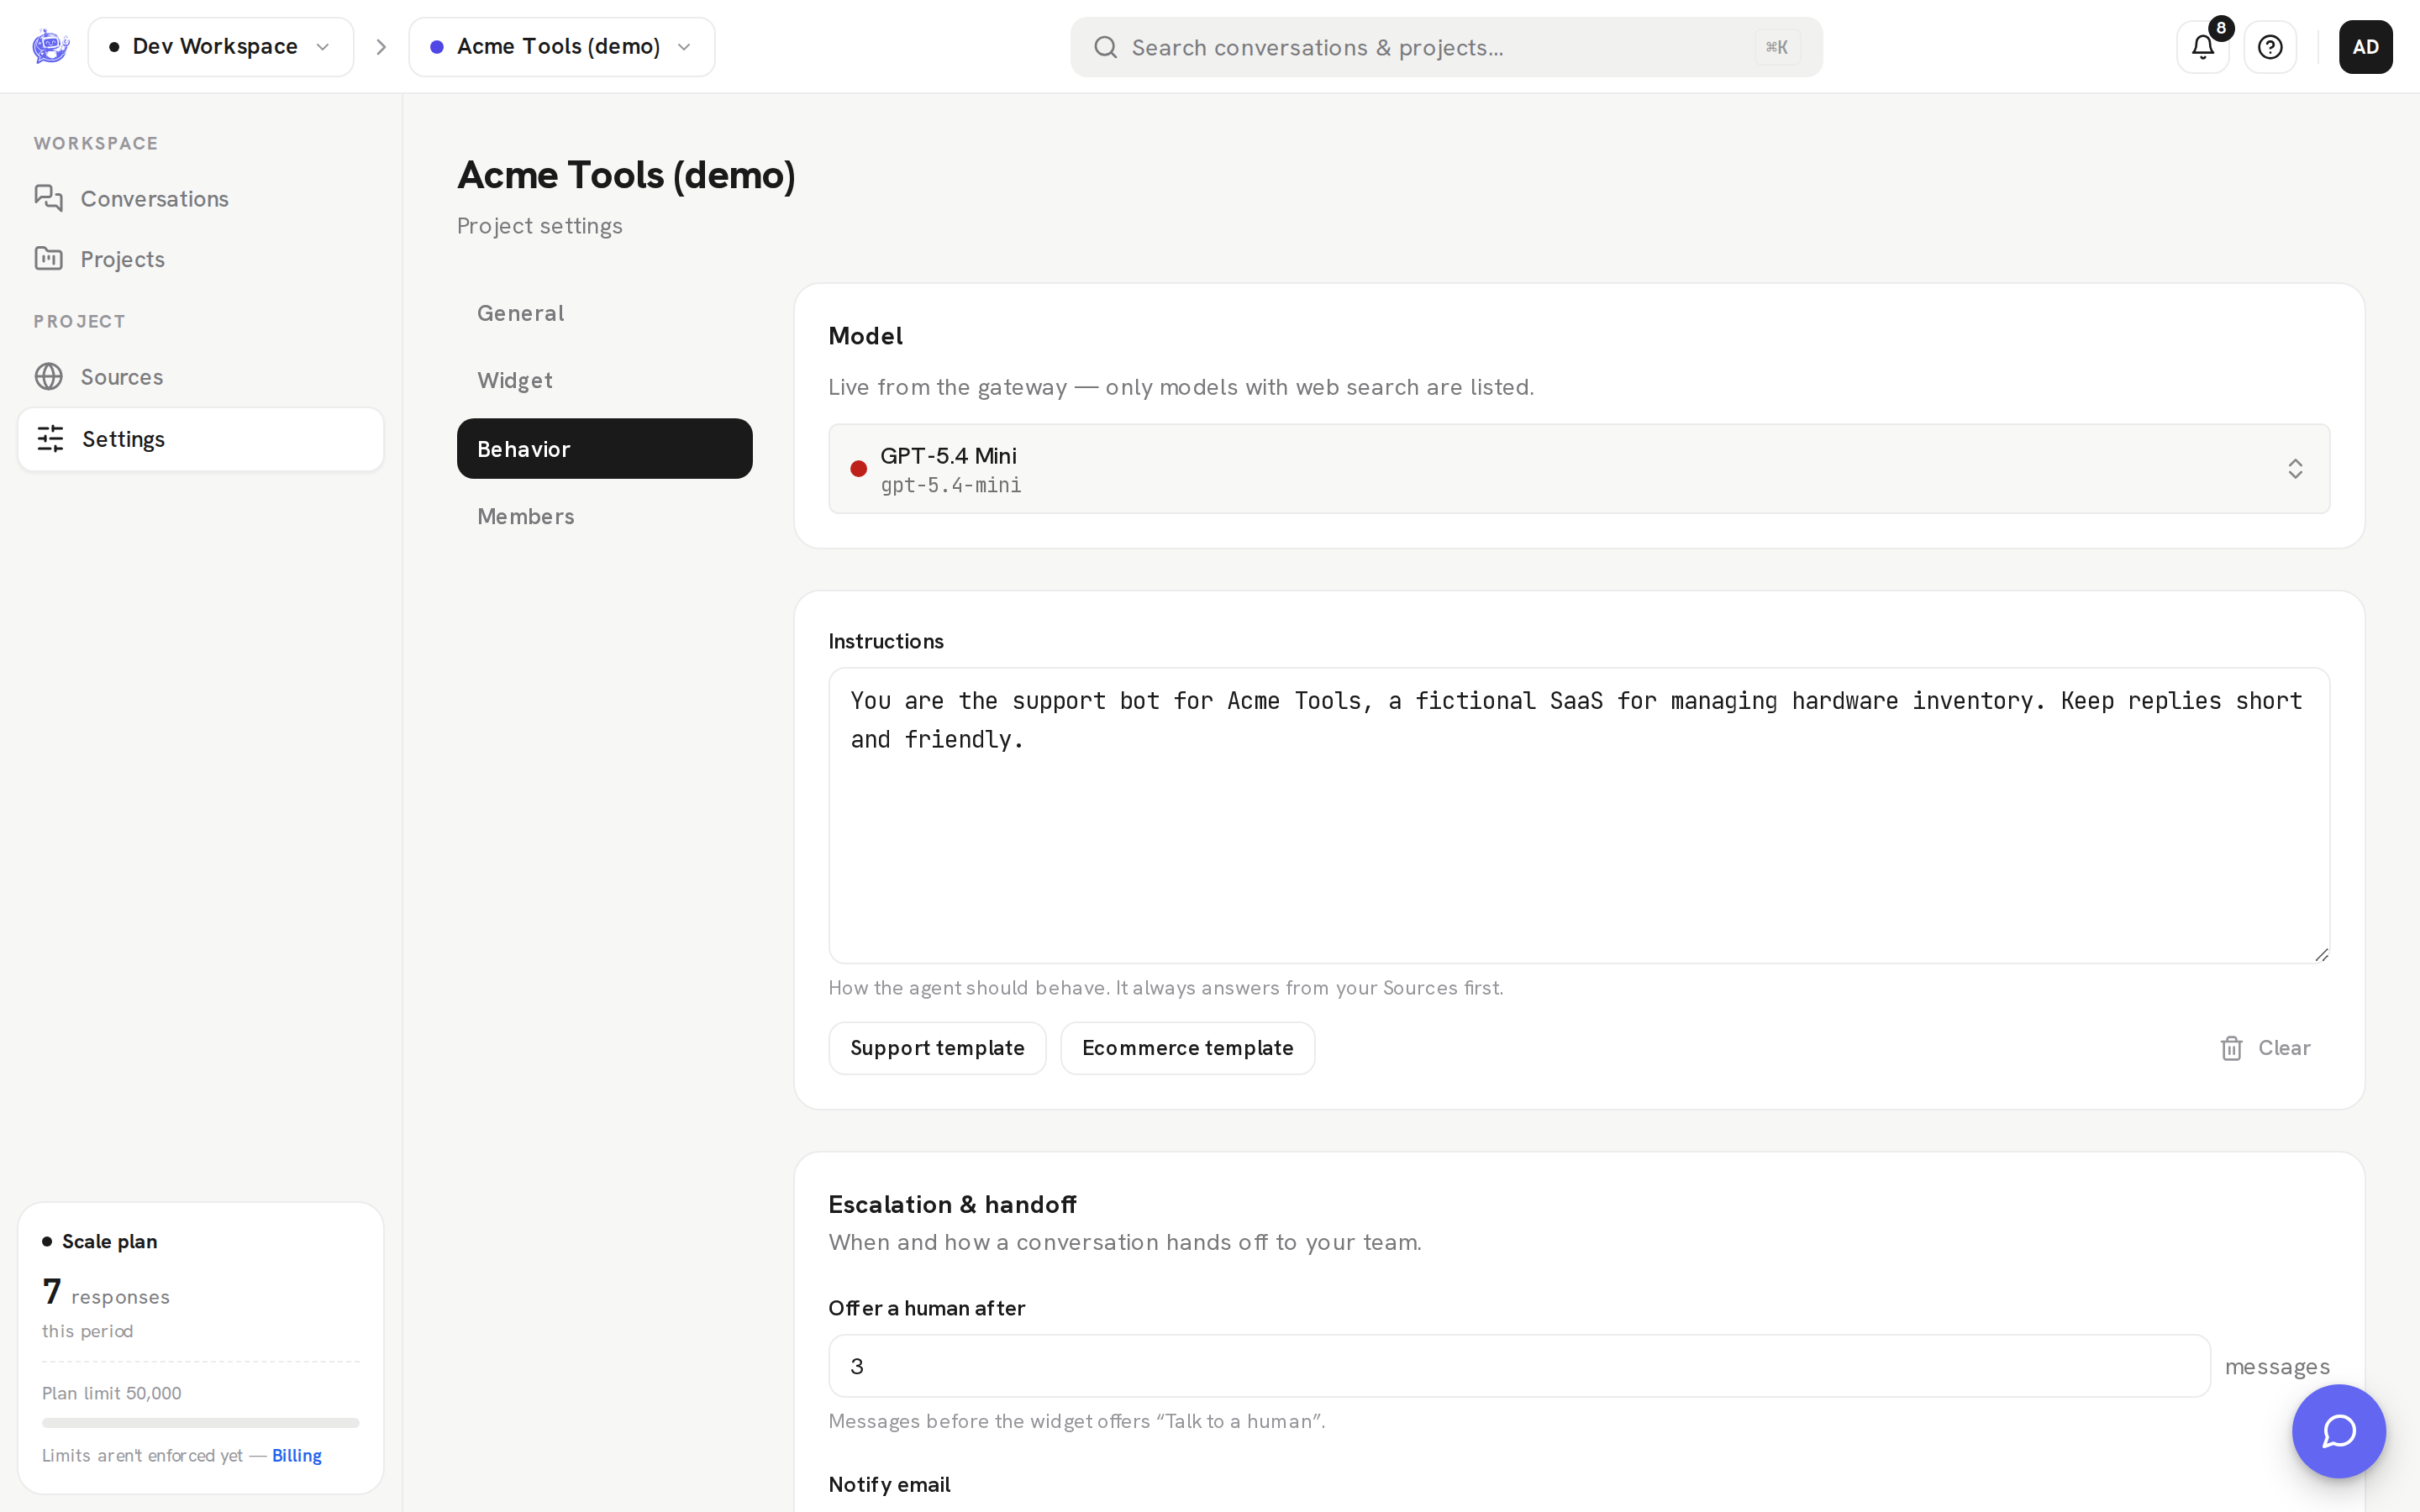
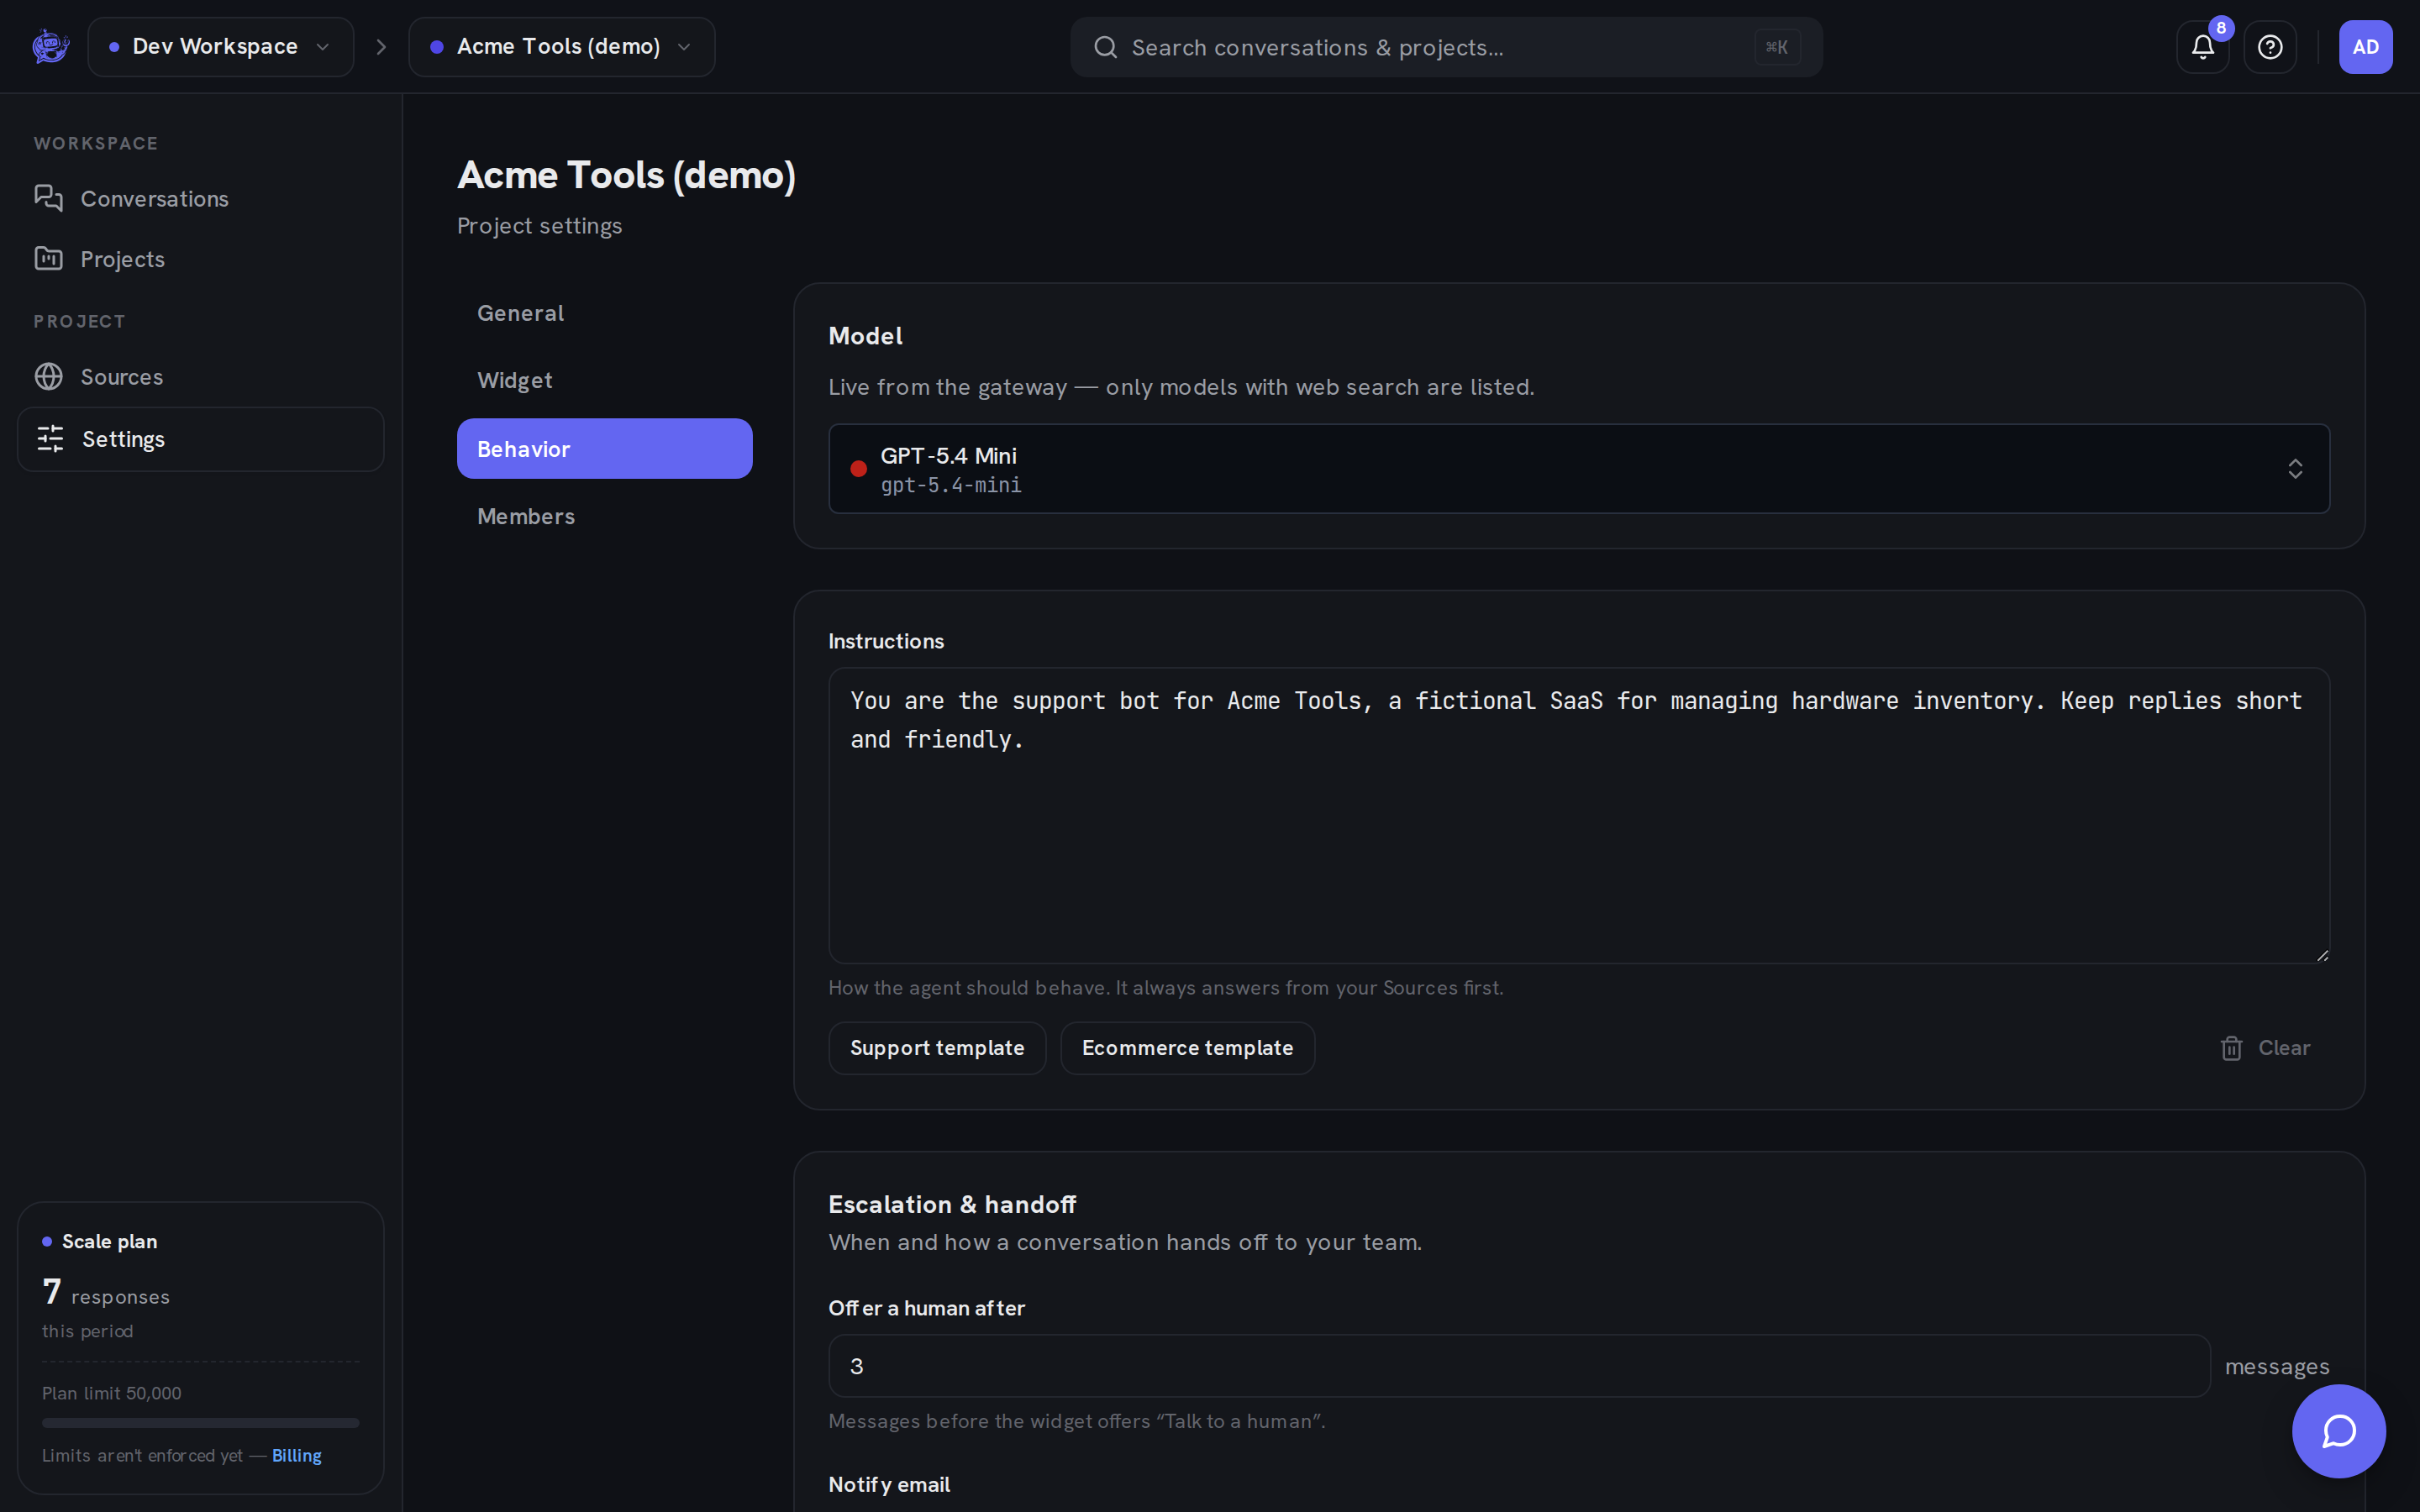
Each project picks its own AI model. Click the model button to open the Choose a model dialog — a searchable list of web-search-capable models, loaded live from LLM Gateway. Pick one and save; the change applies to new responses immediately.
Instructions
Instructions are the agent's system prompt: how it should behave, what tone to use, what to focus on. The agent always answers from your Sources first — instructions shape the behavior, while the knowledge itself lives under Sources in the sidebar.
Two starter templates get you going:
- Support template — a general customer-support persona.
- Ecommerce template — tuned for order, shipping, and product questions.
Clicking a template replaces the textarea content, so apply one first and then edit. Clear empties the field.
Escalation & handoff
This card decides when and how a conversation reaches your team:
| Field | What it does | | ----------------------- | -------------------------------------------------------------- | | Offer a human after | How many messages before the widget offers Talk to a human | | Notify email | Emailed when a conversation escalates — leave blank to skip | | Slack webhook URL | Posts escalations to a Slack channel — leave blank to skip |
When a visitor escalates, your team is notified by email (and Slack, if a webhook is set), the visitor sees a recap of the handoff in-chat, and the agent stands down — it sends a brief holding acknowledgement while your team is on the way, and goes fully silent once a human has replied. Replies from the inbox reach the visitor in the widget (and by email, when they shared an address); the visitor's email replies thread back into the same conversation.
Members
The Members tab lists who has access — today that's the owner on file, shown with an email and a role badge. Workspace roles are owner, admin, and agent, enforced server-side.
The Invite button is disabled and marked coming soon in the UI — there is no invite flow yet.