Workspaces & members
How workspaces group your team, projects, and billing, and what each member role can do
A workspace is your team and billing boundary. It holds your members, your plan and usage, and every project (support agent) you create — projects live inside a workspace, and each workspace is billed separately. Manage them at Settings → Workspaces.
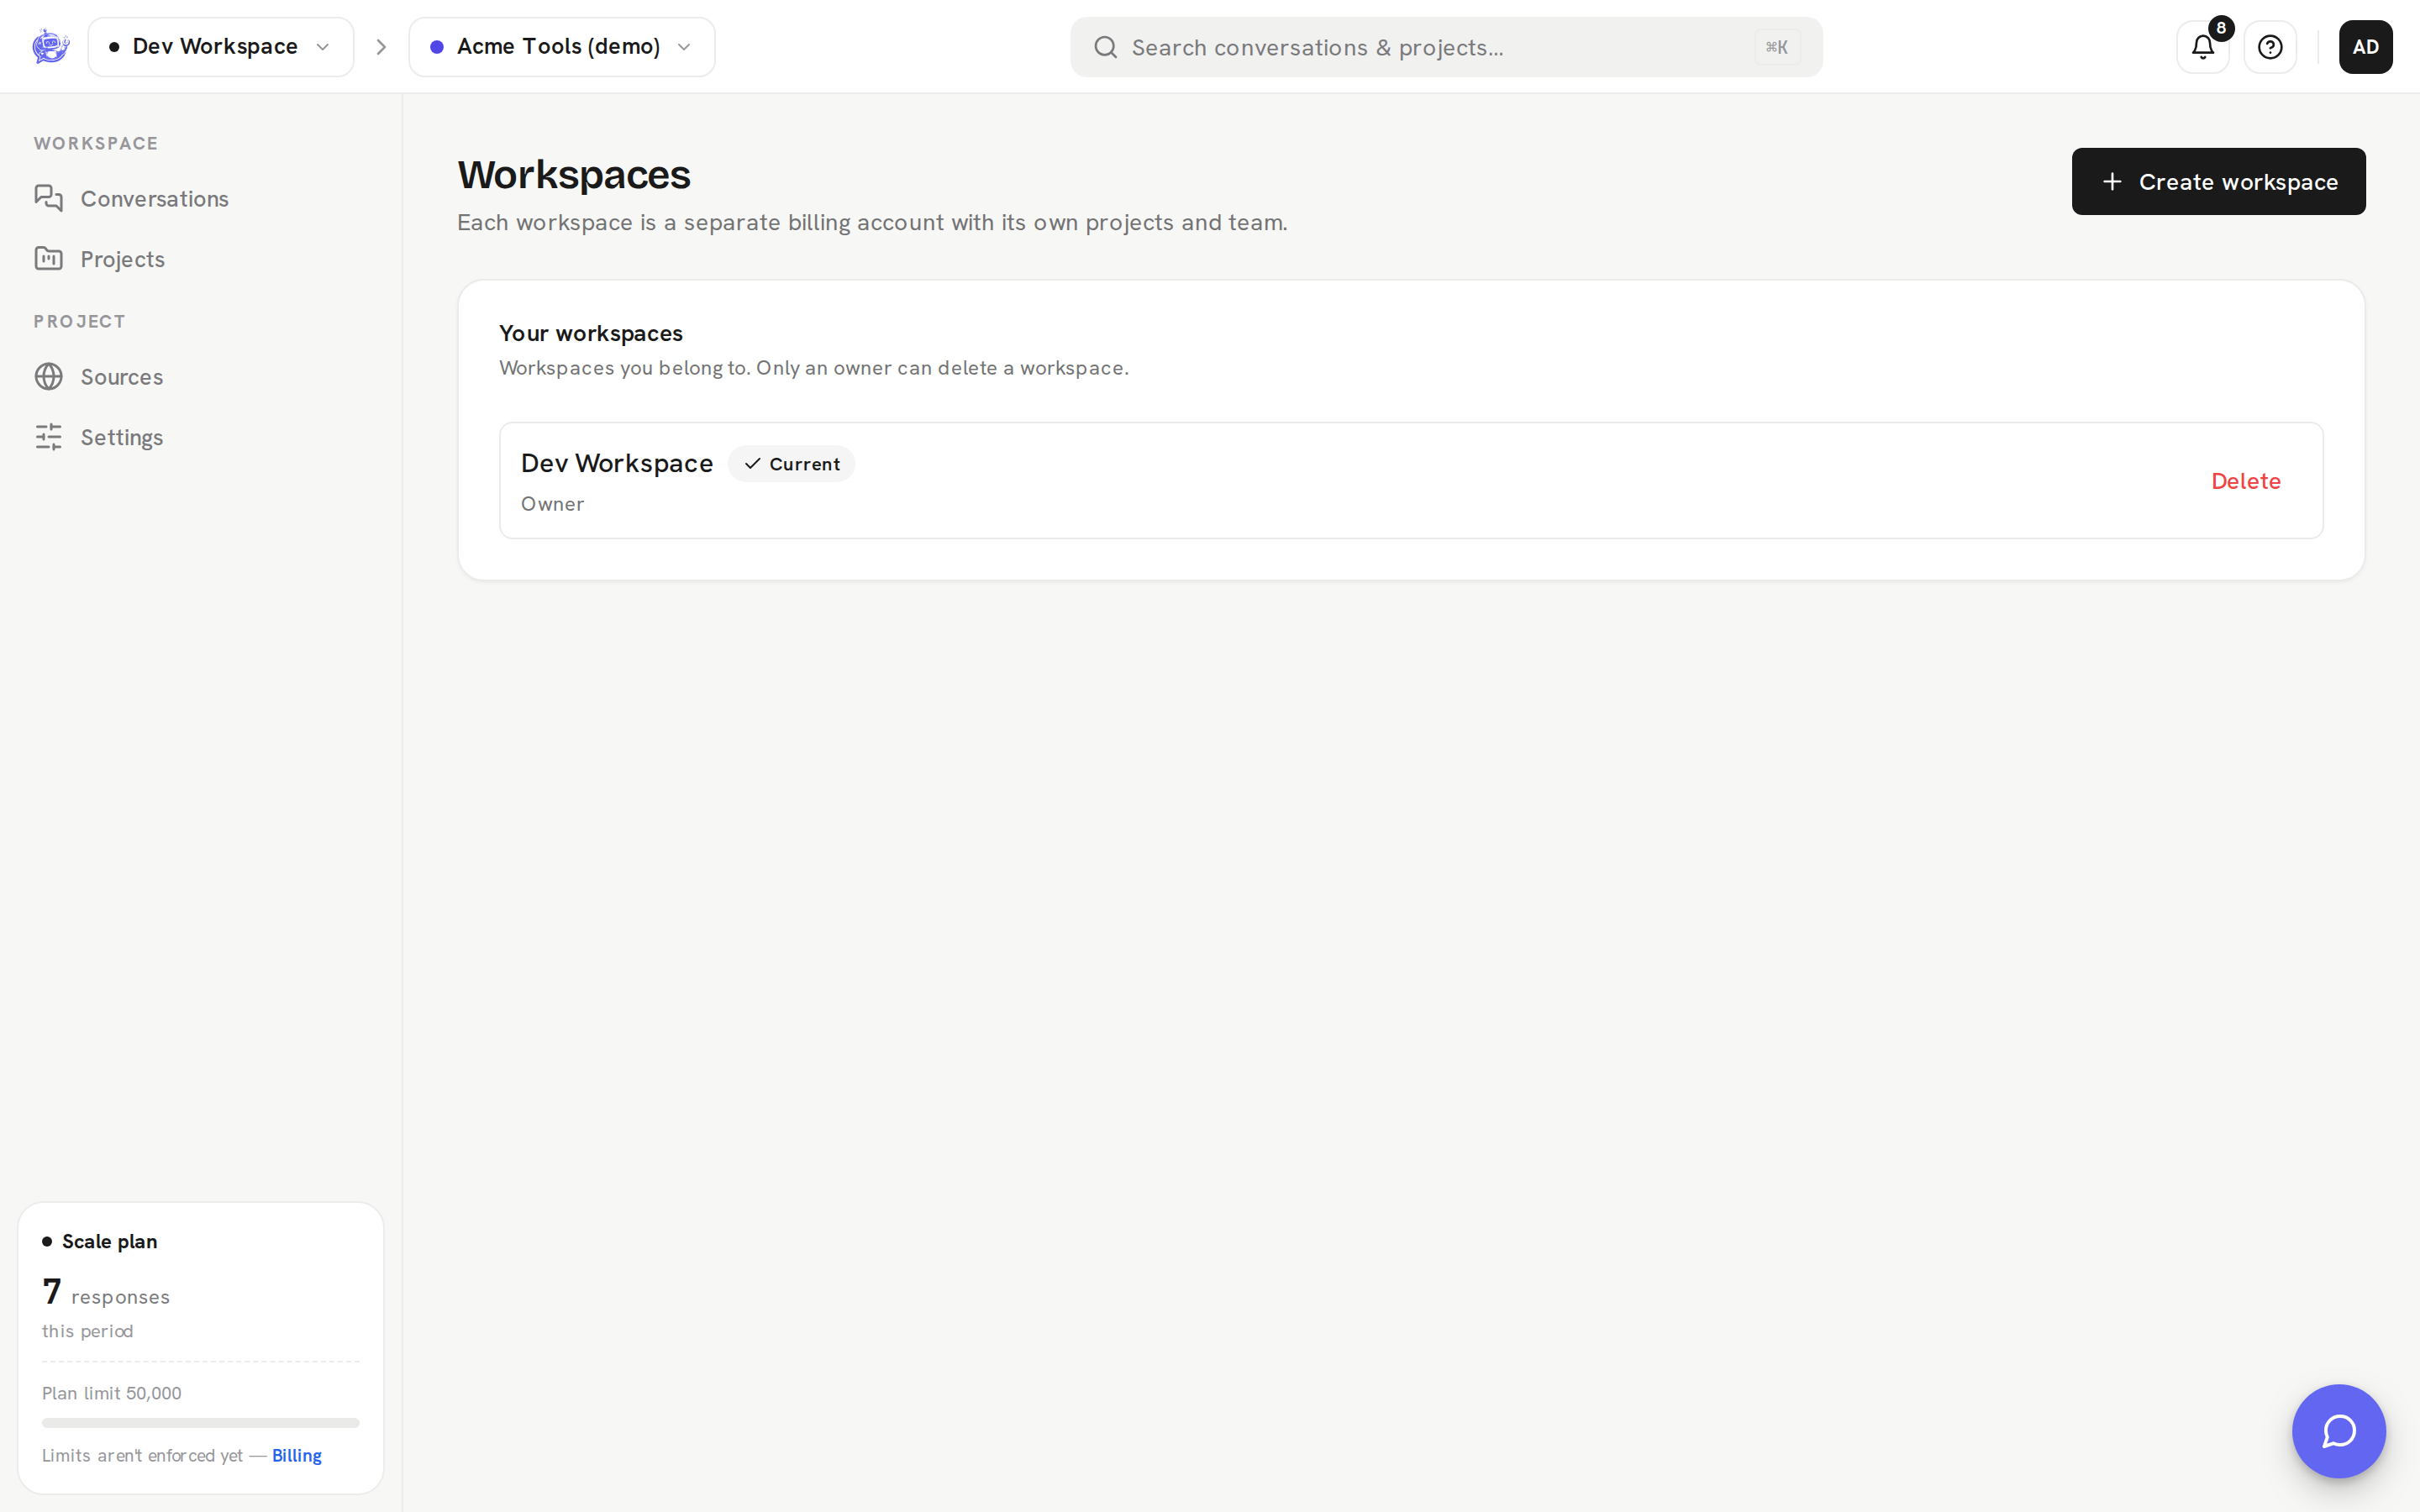
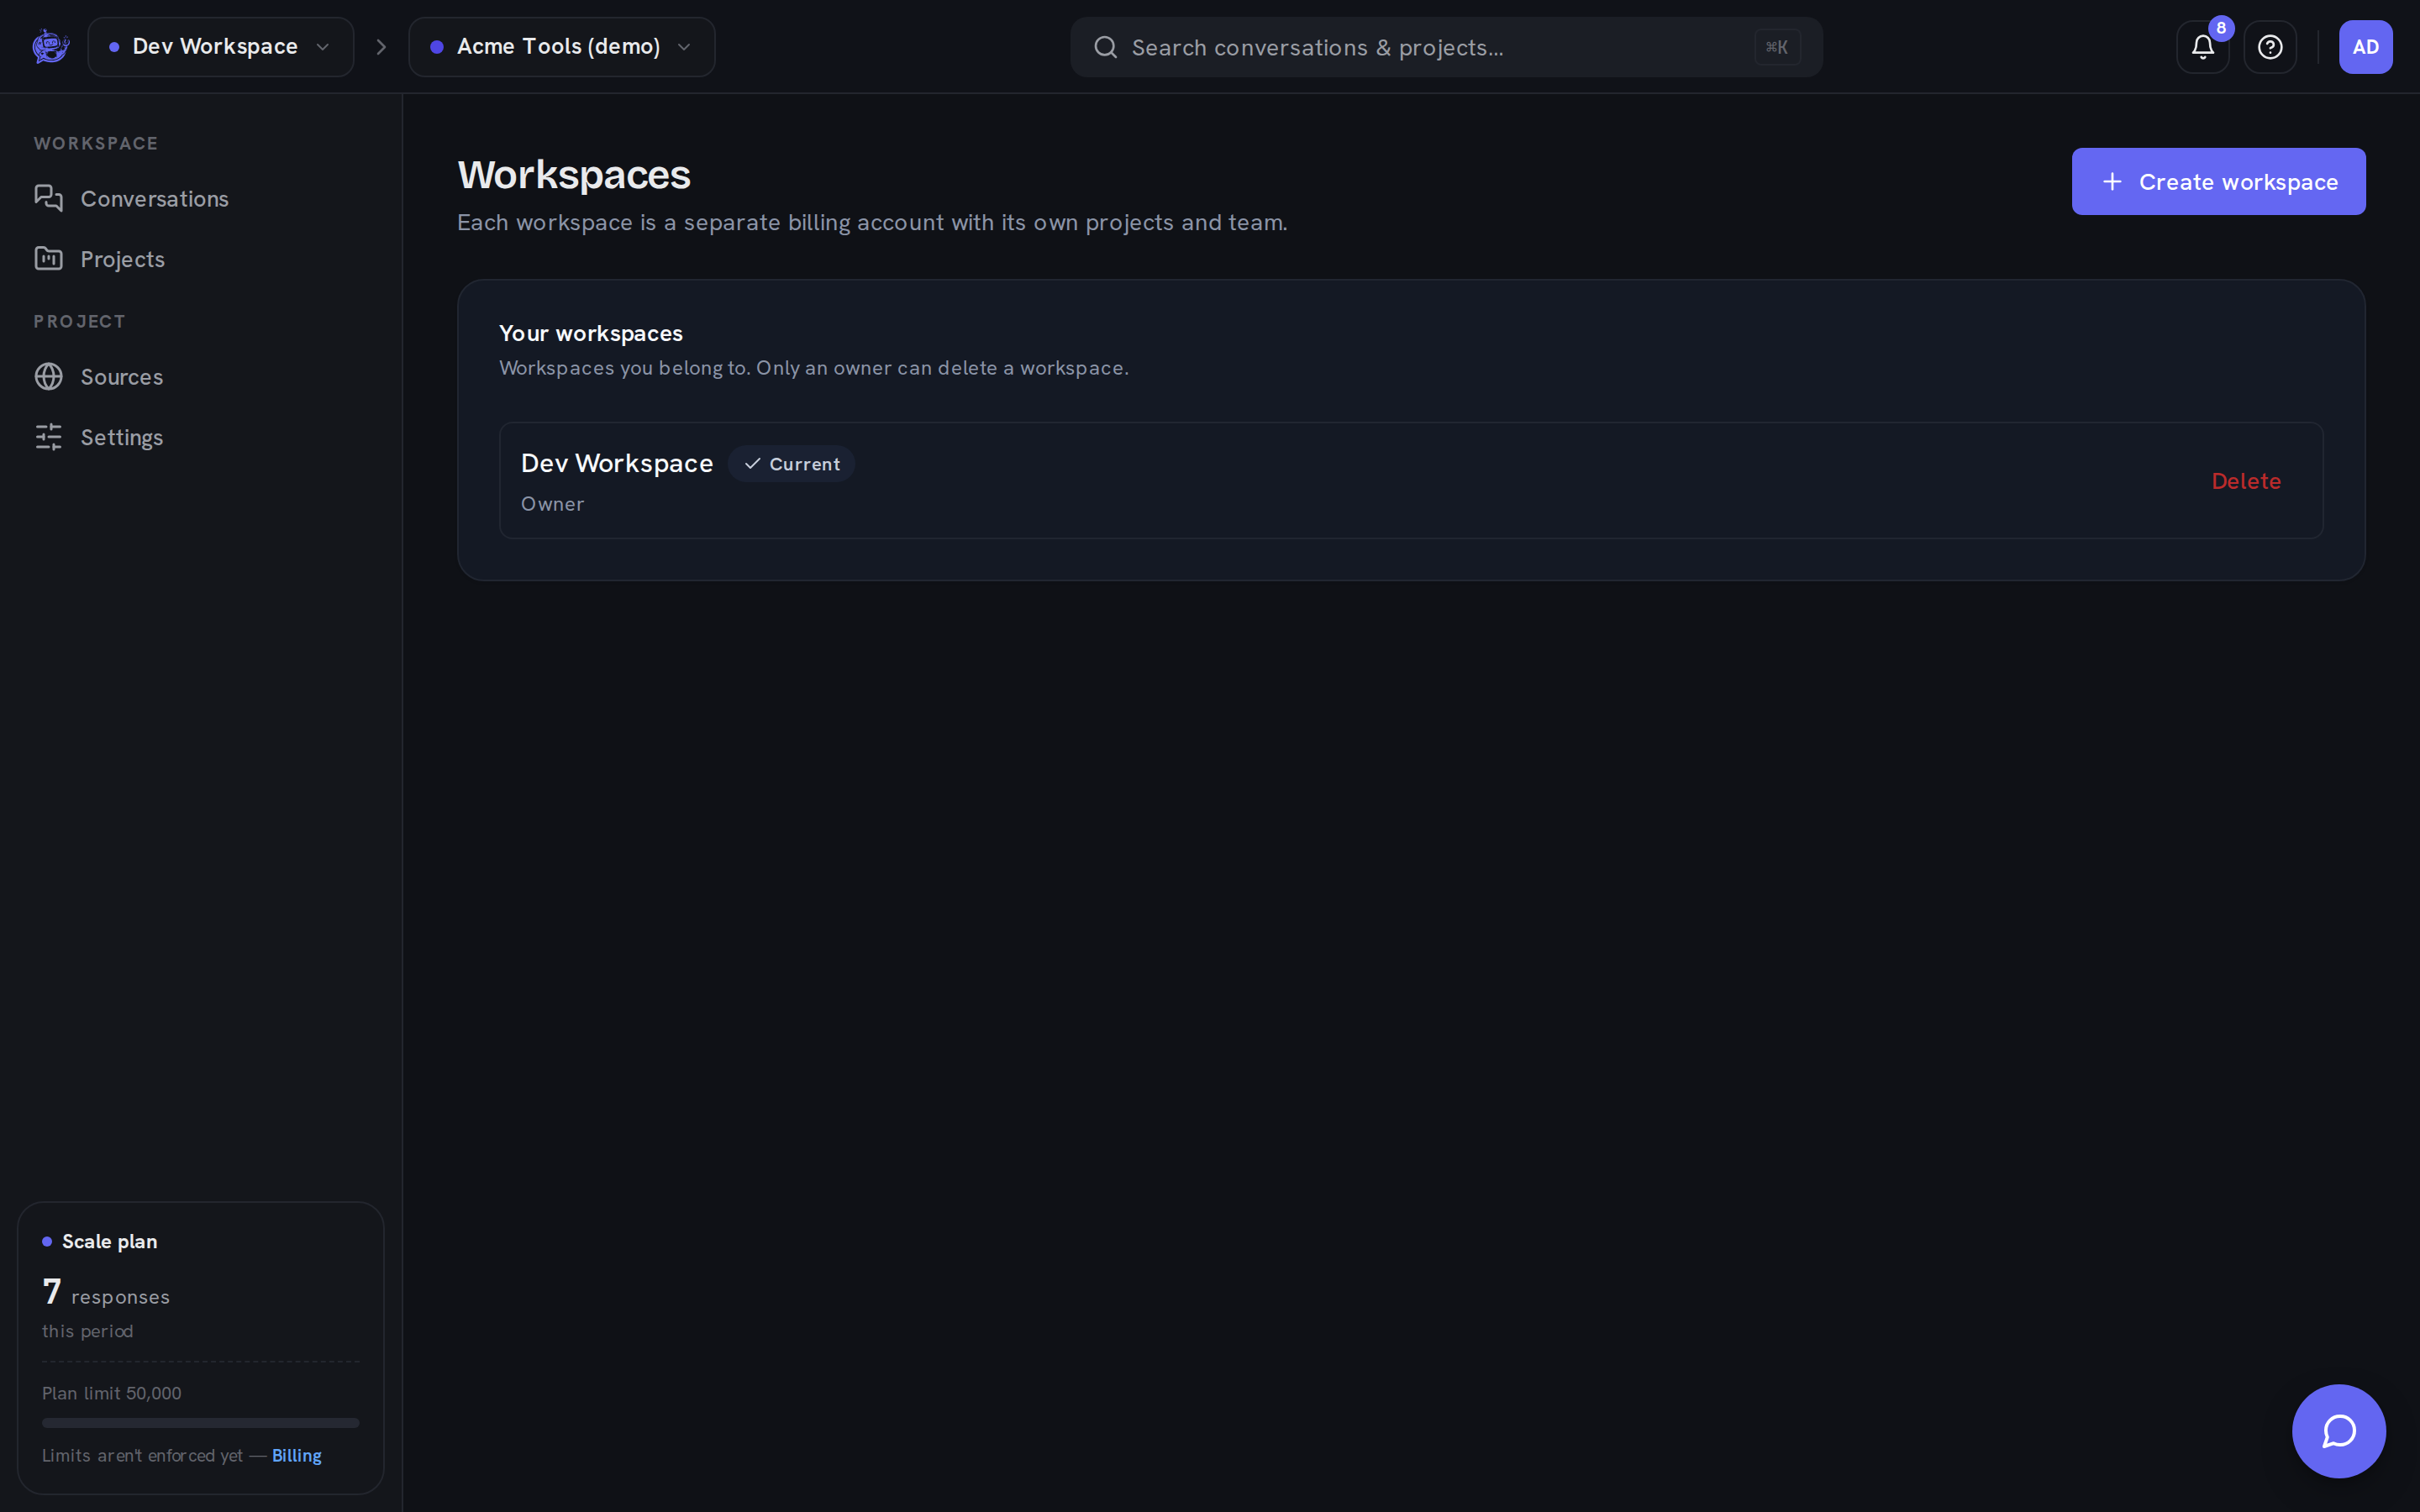
How workspaces fit together
- Workspace — the team and the subscription. Plan, usage, and members are all per-workspace. See Billing.
- Projects — the individual support agents inside a workspace, each with its own widget, model, instructions, and knowledge. See Projects.
- Conversations, tags, sources — always scoped to a project, and therefore to its workspace.
Everything you see in the dashboard — the inbox, projects, settings — is scoped to the workspace you're currently in.
Roles
Every member has one role in a workspace: owner > admin > agent. Each role includes everything the roles below it can do. Roles are enforced server-side, deny by default — the API rejects any request that exceeds your role, so permissions can't be bypassed by the UI.
| Role | What they can do | | --------- | ----------------------------------------------------------------------------------------------------------------------------------------------------- | | Owner | Everything, plus billing: choose or change the plan, open the Stripe portal, and delete the workspace | | Admin | Manage projects (create, configure, delete), knowledge sources, instruction templates, and workspace tags; delete conversations | | Agent | Work the inbox: read and reply to conversations, resolve, reopen, and tag them, and promote a good reply into Q&A knowledge with Add to knowledge |
Your current role is shown next to each workspace on the Workspaces page, and in the account menu in the top bar.
Members
Each project's Members tab (Settings → Projects → your project → Members) shows you with your role badge. Inviting teammates isn't available yet — the Invite button is marked coming soon in the UI.
Creating another workspace
Click Create workspace on the Workspaces page (or from the workspace switcher in the top bar) and give it a name. The dashboard switches into the new workspace immediately and starts onboarding for it: the new workspace has no plan yet, so you pick one first, then build its first agent.
Use separate workspaces when you need separate billing or separate teams — for example, an agency running support for two different clients.
Switching workspaces
Use the workspace switcher in the top bar, or click Switch next to any workspace on the Workspaces page. The inbox, project list, and usage meter all update to the selected workspace.
Deleting a workspace
Only an owner of a workspace can delete it. Click Delete next to the workspace and confirm. Deletion is permanent and removes everything inside it — projects, conversations, knowledge sources, and tags.
Deletion is blocked while either of these is true:
- It's your last workspace. You always keep at least one — create another workspace first, or delete your whole account from Settings → Account instead.
- It has an active subscription. Cancel the plan first via Manage in Stripe on the Billing page, then delete the workspace.